Article
How to Check Image Size, Aspect Ratio and Social Media Crop Before You Post
A practical workflow for creators, site owners and marketing teams who need to avoid blurry uploads, awkward crops and hidden metadata leaks.
Publishing an image should be simple, but the last mile is where small mistakes become visible: a square post is cropped into a vertical preview, an Open Graph image looks soft on a link card, or a client file still includes camera metadata. A practical image-check workflow helps you catch those problems before the upload screen does.
Use the free Image Checker tool when you want one quick pass for dimensions, aspect ratio, file size, DPI, metadata and common social media requirements. The broader online checker tools directory lists only tools that are already live.
Step 1: Confirm the real pixel dimensions
Start with the image you actually plan to publish, not a screenshot of it. Open the file in a checker and record the exact width and height in pixels.
Pixel dimensions matter because most platforms resize from the original file you upload. A 1200 x 630 image is a strong fit for many link previews, while a 600 x 315 image may still work but leaves less room for compression and high-density displays. A 1080px-wide photo is a useful Instagram baseline because Instagram says photos should be at least 1080px wide when uploaded.
If the image is smaller than the placement you need, exporting it larger from the original design file is usually better than upscaling a flattened image.
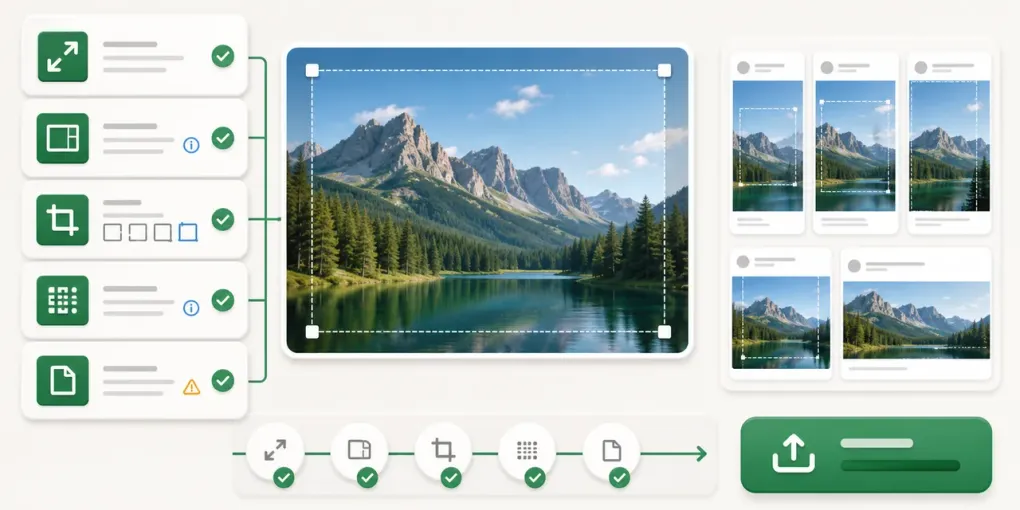
Step 2: Compare aspect ratio, not just width
Width alone does not tell you whether an upload will crop correctly. Aspect ratio is the relationship between width and height.
Common examples:
- 1:1 works well for square social posts.
- 4:5 works well for portrait feed images.
- 16:9 works well for YouTube thumbnails and many video covers.
- 1.91:1 is common for Open Graph and LinkedIn sharing previews.
This is why a good checker should show both the simplified ratio and the platform fit. A 1200 x 1200 file and a 1200 x 630 file both have 1200px width, but they solve very different publishing problems.
Step 3: Check social media crop safety
Different placements crop differently across feeds, mobile previews, comments and link cards. Before posting, check whether important details sit too close to the edge.
For social media and SEO images, use these practical targets:
- Instagram feed photos: at least 1080px wide and between 1.91:1 and 3:4, based on Instagram’s public upload guidance.
- Instagram Reel covers: 420 x 654 is the listed recommendation.
- YouTube thumbnails: YouTube now recommends 3840 x 2160, with 16:9 ratio and at least 640px width.
- Open Graph images: Meta recommends at least 1200 x 630 for high-resolution link shares.
- LinkedIn share images: LinkedIn lists 1200 x 627, 1.91:1 and a 5 MB maximum.
Those numbers are not decorative. They help you decide which export to create, which crop to review and whether you need a separate image for a different placement.
Step 4: Review file size and format
File size affects upload limits, page speed and sharing reliability. A huge PNG might look crisp, but it can be too heavy for some workflows. A compressed JPG might upload easily, but fine text can look rough after another platform compresses it.
Use a simple rule: keep photographic images in JPG or WebP when the platform supports it, keep transparent graphics in PNG or WebP, and always check the platform’s accepted formats before the final upload. When a tool warns about file size, treat it as a prompt to export a better version instead of blindly compressing the existing file.
Step 5: Inspect DPI and print-size expectations
DPI does not change how many pixels an image has, but it helps estimate print size. A 3000 x 2400 image at 300 PPI is roughly 10 x 8 inches. The same pixel dimensions at 150 PPI can print larger, but with less detail.
For digital publishing, pixel dimensions are usually more important than DPI. For handoff, packaging, PDFs and print-adjacent work, checking DPI avoids confusion before a designer or client asks why an image prints smaller than expected.
Step 6: Look for metadata before sharing
Images can contain EXIF, IPTC or XMP metadata. Some fields are harmless, but others can expose location, camera model, original date, author fields or editing software.
That does not mean every file must be stripped. It means you should know what is inside before sending a private photo, client asset or unpublished campaign creative. A browser-side checker is useful here because the original file can stay on your device while you inspect it.
A workflow you can reuse
Here is a simple workflow before each important upload:
- Open the final file in the Image Checker tool.
- Confirm dimensions, aspect ratio, file size and format.
- Review which social or SEO placements pass and which show warnings.
- Check DPI if the file may be printed or handed off.
- Review metadata flags before sharing the file externally.
- Re-export from the source design file when the result needs fixing.
This workflow is not about chasing a perfect score. It is about catching the problems that cost time after publishing: blur, bad crop, rejected upload, heavy files and hidden metadata.
Official image size references
Platform requirements can change, so check official sources for business-critical uploads:
- Instagram photo upload resolution
- Instagram Reel cover size
- YouTube custom thumbnail help
- Meta Open Graph image guidance
- LinkedIn sharing image requirements
When you need a fast first pass, start with the Image Checker page and use the official links when a requirement has legal, ad-spend or client-delivery consequences.